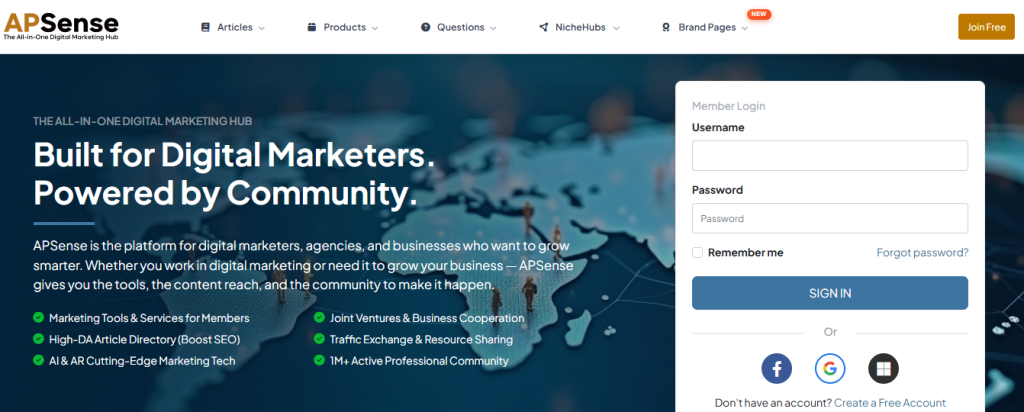
Introduction: What is APSense?
APSense is a business networking and digital marketing platform where freelancers, entrepreneurs, and digital marketers can promote their businesses and services. On this platform, users can publish articles to share information about their businesses, products, and services. You can register for free, and if you want to access additional features, you can upgrade your account later. APSense also offers marketing tools, networking opportunities, and content publishing features to help grow your online presence.
This guide explains how to create a free APSense account in just a few minutes.
Who is APsense for?
- Freelancers
- Entrepreneurs
- Small business owners
- Affiliate marketers
- Digital marketers
- Bloggers
- Content creators
What are the main features of APSense?
- Professional Business Profile
- Create a brand page
- Advertising & Promotion
- Article Publishing
- Increase your Business Networking
How to Create a Free APSense Account?
Prerequisites
Before you begin, make sure you have:
- A valid email address
- A stable internet connection
- A web browser (Chrome, Edge, Firefox, or Safari)
Step-by-step guide to create an account on APSense
Step 1: Visit the APSense website.
Open your preferred web browser and go to the APSense homepage.
You’ll find some options such as “Join Free” or “Create a Free Account” on the homepage of the site
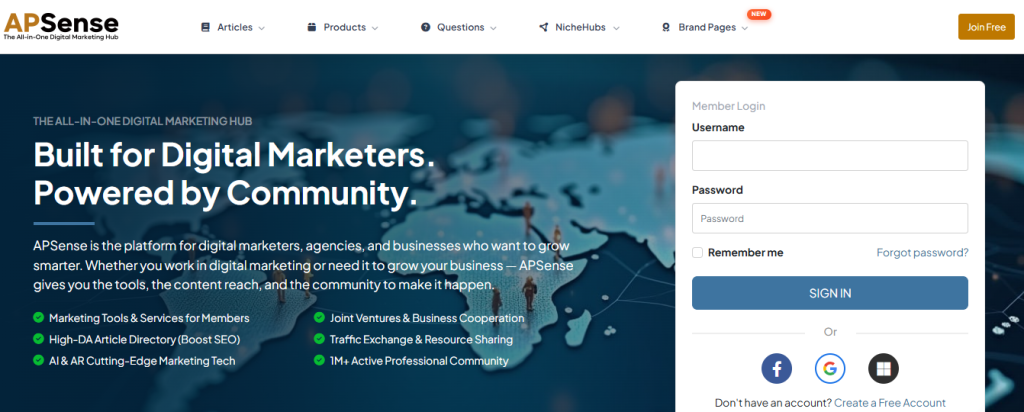
Step 2: Click “Create a Free Account” or “Join Free”:
Click on “Create a Free Account” or “Join Free”
You see, the registration page is open, and it offers registration via Microsoft account and Google.
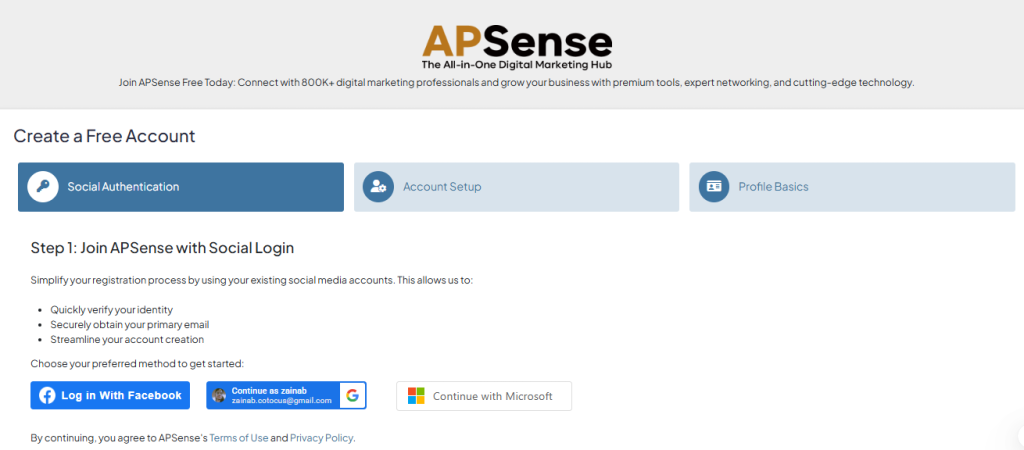
You choose for yourself what you want to make it with.
Step 3: Enter Your Account Details & let’s complete your profile
Fill in the required information:
- Full Name
- Email Address
- Username
- Password
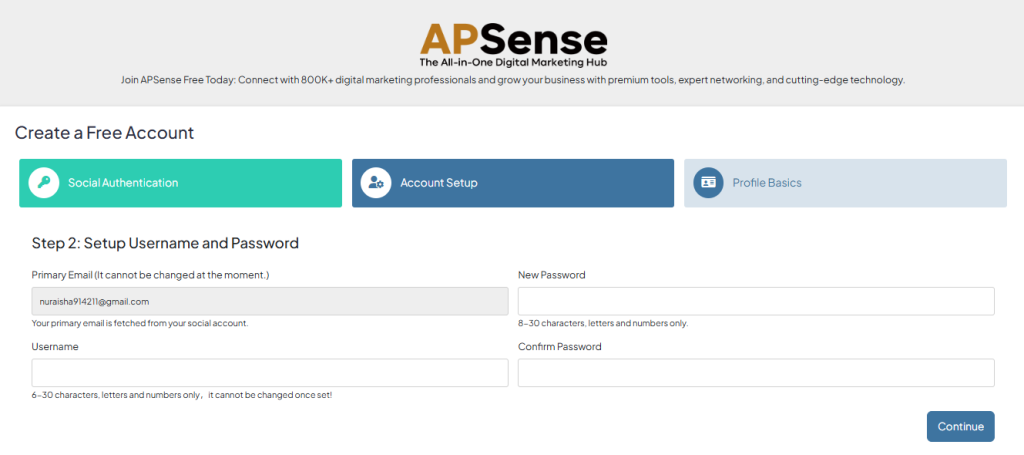
and click on “continue” to forward to the next step.
Step 4: Complete Your Profile
Let’s complete your profile, which helps in building your credibility and makes it easier for other members to connect with you.
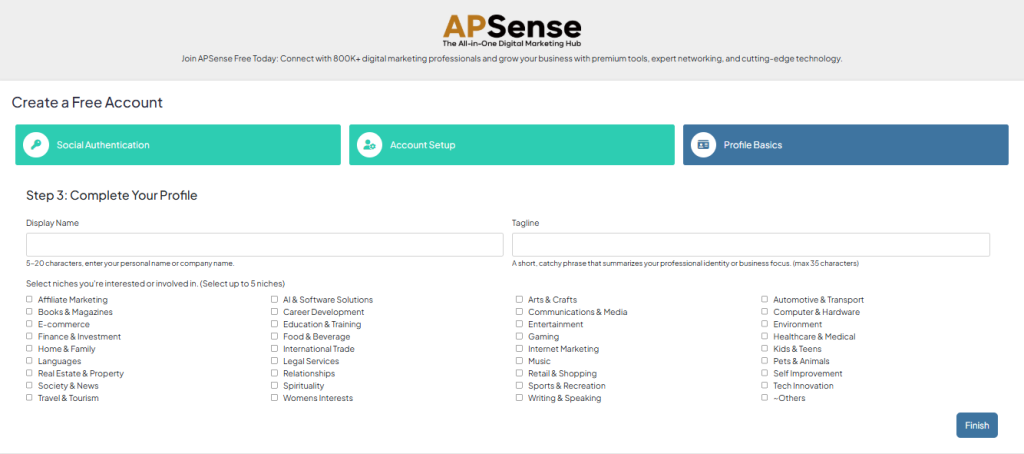
and click on “Finish” to forward to the next step.
Step 5: Choose Your Role
Select your role to view recommended features tailored for you, and enter your dashboard.
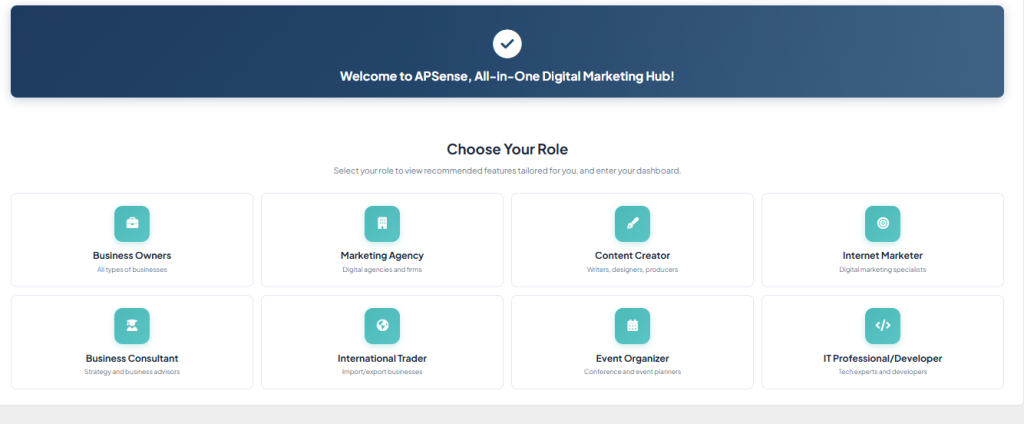
After selecting a role, proceed. You will see that your profile has been created.
Note: However, to fully complete your profile, you need to upload your profile photo.
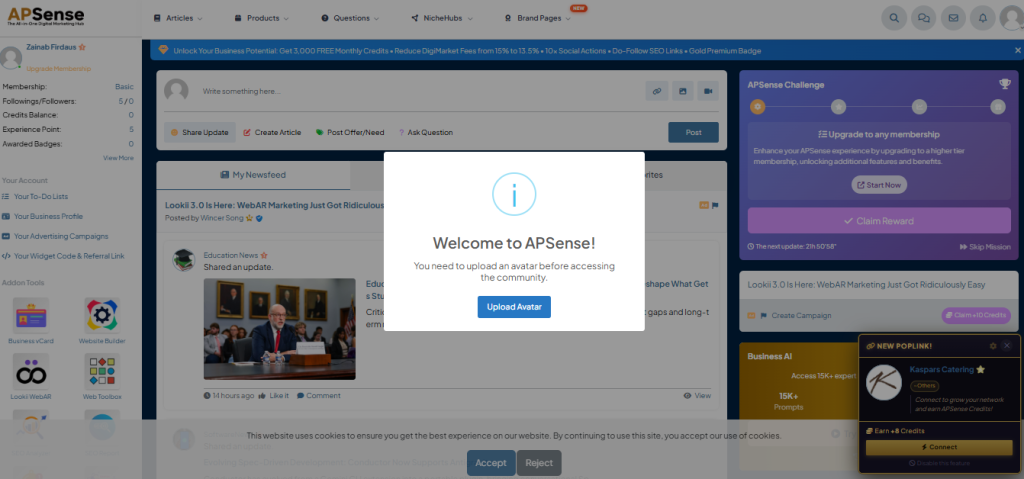
Step 6: Start Exploring APSense
After completing your profile, you can begin using APSense features, such as the following:
- Publish articles
- Join niche groups (Niche Hubs)
- Connect with professionals
- Promote your business
- Explore marketing tools
Step-by-Step guide to publish a post
Step 1: Click on “create article.”
After creating your profile, visit the dashboard and find “create post” and many options.
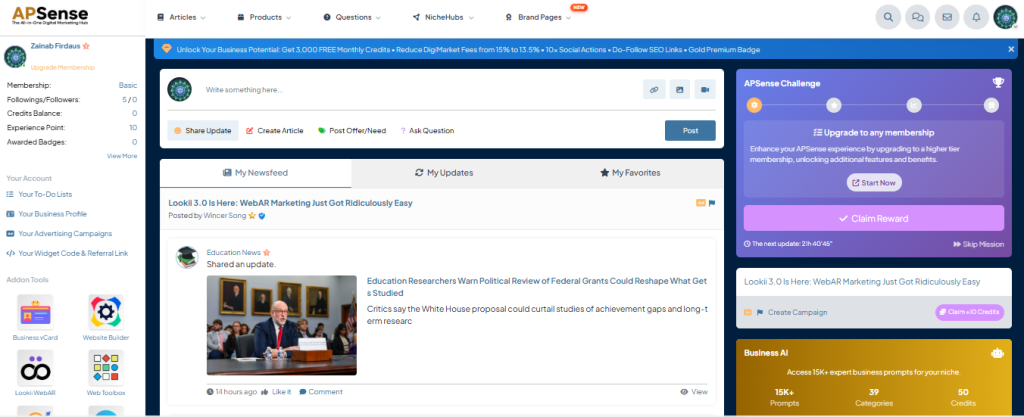
Step 2: Click on “next step.”
After clicking on “next step,” you find this.
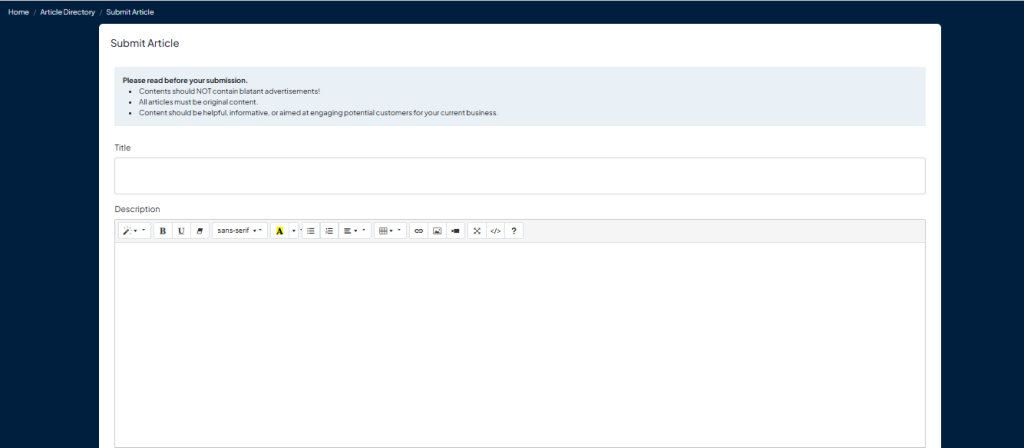
You can write your article here.
Step 3: Time to publish your article
After writing your article, you will find a publish button below.
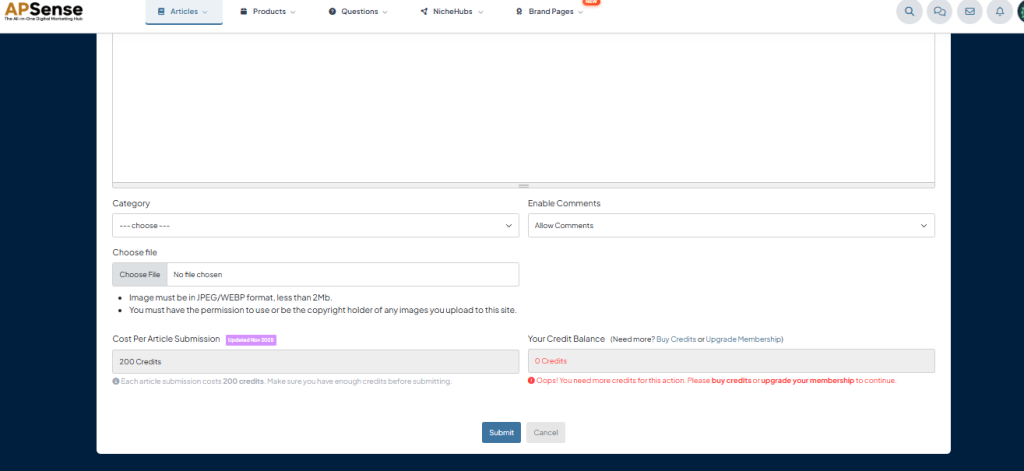
Note: To publish an article on this site, you must have 200 credits for publishing an article. To take credits You have to buy credits or upgrade your membership.
