Introduction
Brownbook is a free online business directory where you can create a listing for your business. It helps improve your online visibility, making it easier for customers to find your business. You can create a business listing for free and later claim it to add more details and keep the information up to date.
What Can You Add on Brownbook?
- Business Name
- Business Category
- Address
- Phone Number
- Website
- Email Address
- Social Media Links
Step-by-Step Guide to Create a Business Listing on Brownbook
Step 1: Open Brownbook
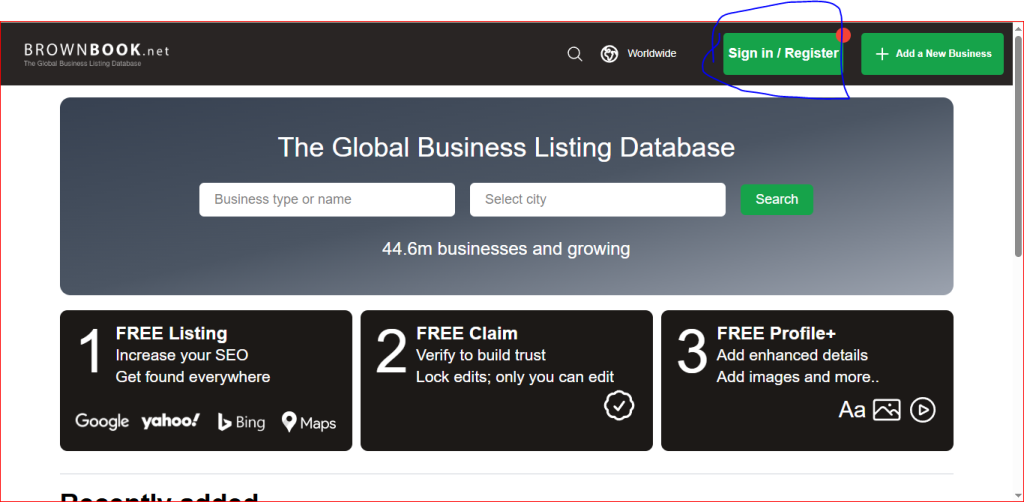
Step 1: Open Brownbook and Sign In
First, open the Brownbook website. If you already have an account, sign in. If you don’t have an account yet, click Sign Up to create a free account before creating your business listing.
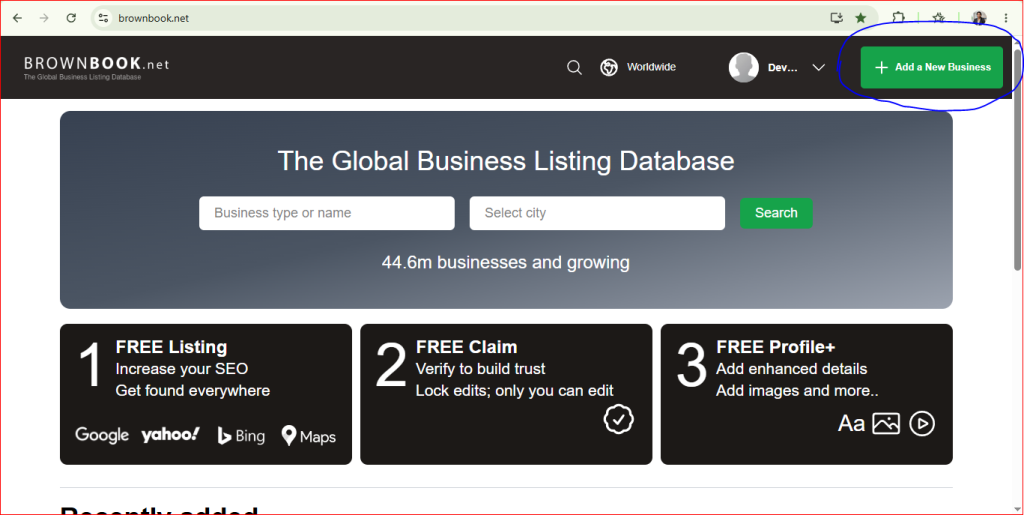
Step 2: Click on Add a Business
On the homepage, click the Add a Business option. Before creating a new listing, search for your business to check if it already exists. If you can’t find it, you can create a new business listing.
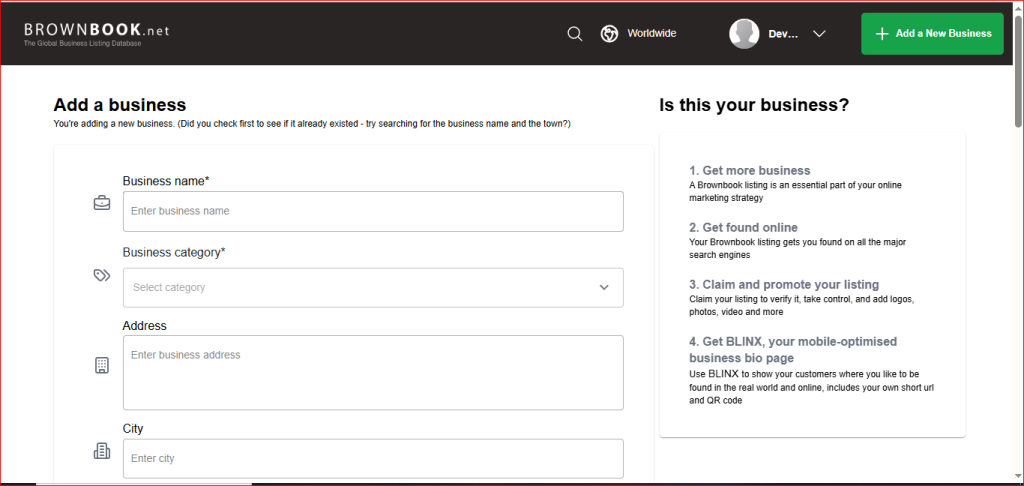
Step 3: Fill in Your Business Details
Enter your business information in the required fields:
- Business Name – Enter your business’s official name.
- Business Category – Select the category that best matches your business.
- Address – Enter your complete business address.
- City & Country – Select your city and country.
- ZIP Code – Enter your area’s ZIP or PIN code.
- Phone & Mobile – Add your business contact number.
- Email Address – Enter your business email address.
- Website – Paste the link to your official website.
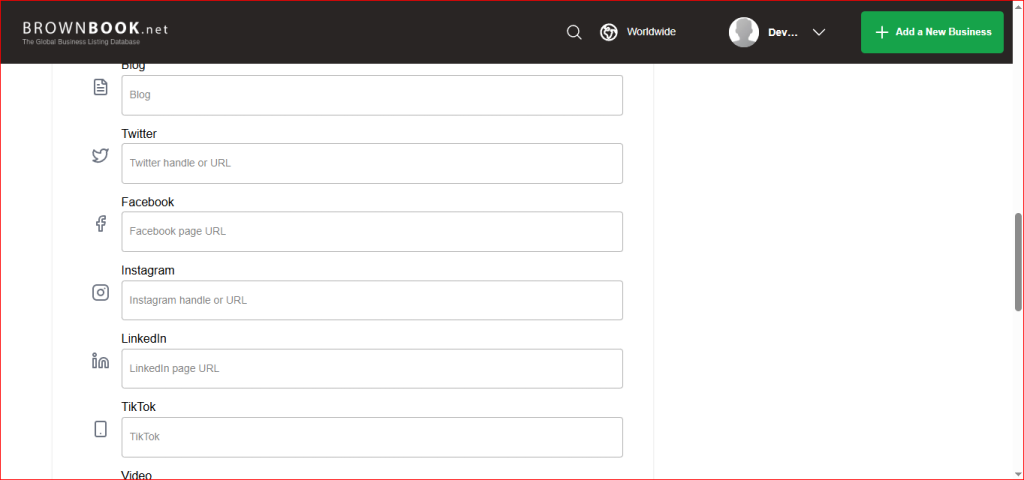
Step 4: Add Social Media Links (Optional)
If your business has social media accounts, you can add their links to your listing. For example:
- X (Twitter)
- TikTok
- Blog
Adding these links helps customers learn more about your business and connect with you online.
Step 5: Add Business Tags
Add keywords that are related to your business. These tags help people find your business more easily.
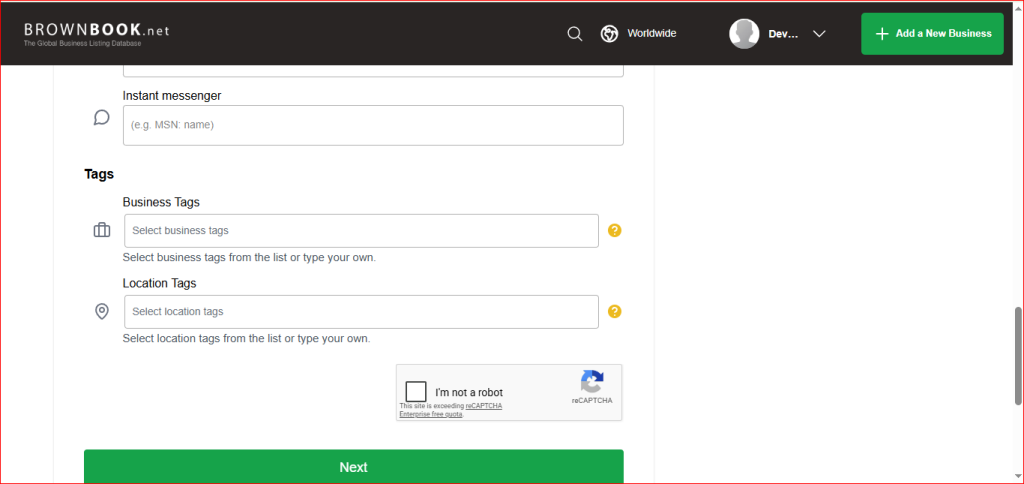
Step 7: Submit Your Business Listing
Once you’ve filled in all the required details, click the Next button and submit your listing. After your listing is created, you can claim it to add more information, such as your logo, photos, videos, business hours, and other details.
