Introduction
Blogger is a free blogging platform where people can publish their blogs for free. You only need a Google account to use it. On Blogger, you can create personal, travel, and technology blogs, as well as business websites, tutorials, and news blogs. Blogger provides a free blogspot.com subdomain, and you also have the option to connect your own custom domain.
This guide explains how to write and publish your first blog post on Blogger.
Key features of Blogger:
- Free blog creation
- Free Blogspot subdomain
- Custom domain support
- Easy post editor Pages creation
- Labels (categories)
- Comments management
- Themes and templates
- Google AdSense
- integration Google
- Analytics support
- Image and video uploads
- Scheduled publishing
- Draft saving
What can you do on this website?
- You can create a free blog.
- You can publish unlimited blog posts.
- You can add images and videos.
- You can write SEO-friendly articles.
- You can create multiple pages (About, Contact, Privacy Policy).
- You can customize the blog design.
Step 1: Sign In to Blogger
- Open your web browser.
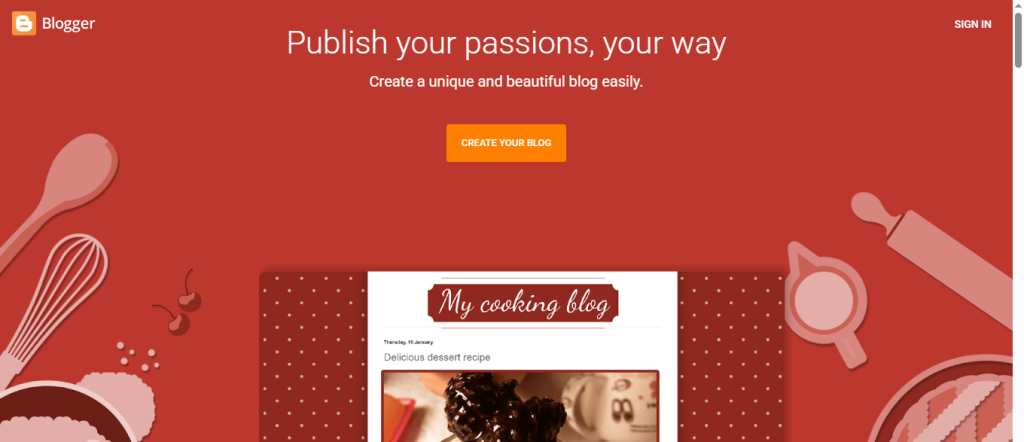
- Visit Blogger
- Click Sign In.
- Log in using your Google account.
After signing in, you’ll be redirected to your “blogger dashboard”.
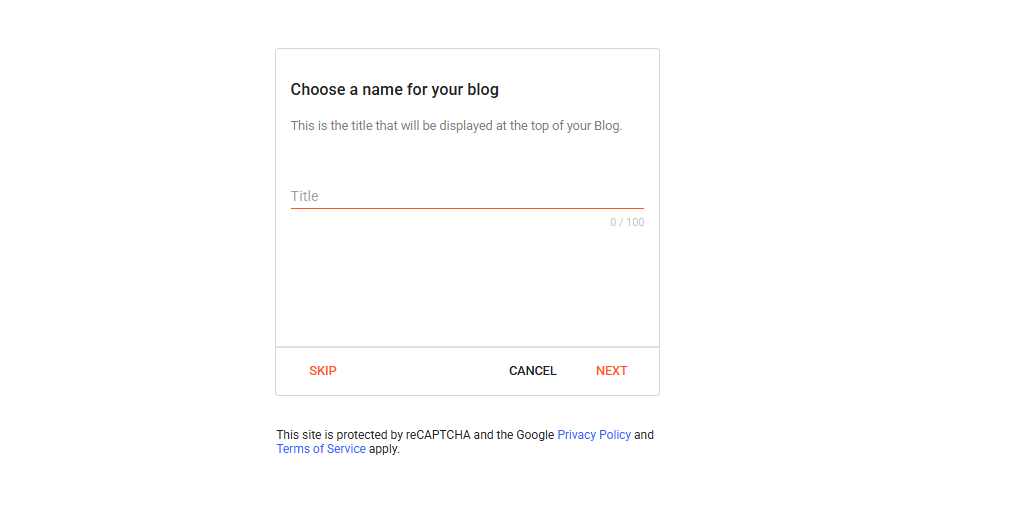
Step 2: choose name for your blog
This is the title that will be displayed at the top of your Blog.
Note :If want write the name, you may skip this step.
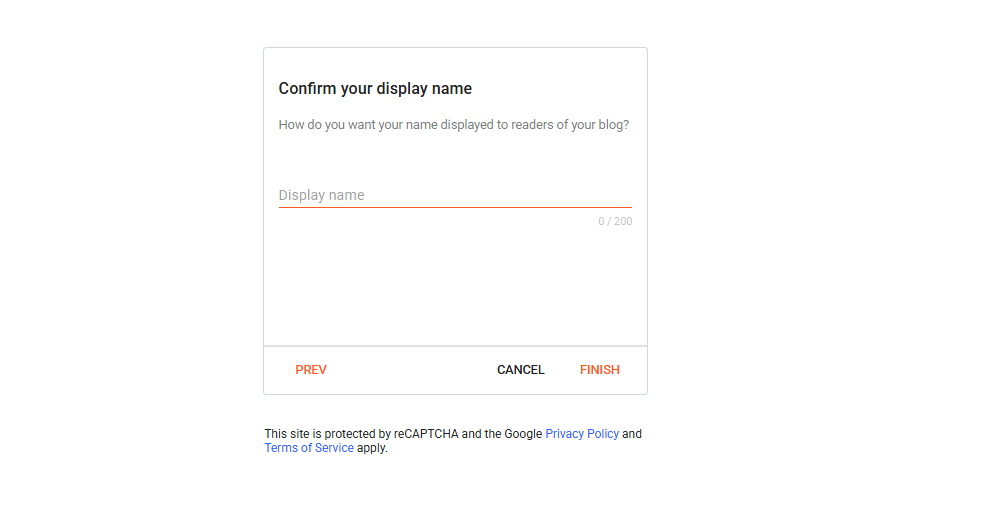
Step 3: Confirm your display name
If you want your name displayed to readers of your blog.
Step 4: Select Your Blog
If you have multiple blogs:
- Open the Blogger Dashboard.
- Select the blog where you want to publish your post.
If you have only one blog, it will open automatically.
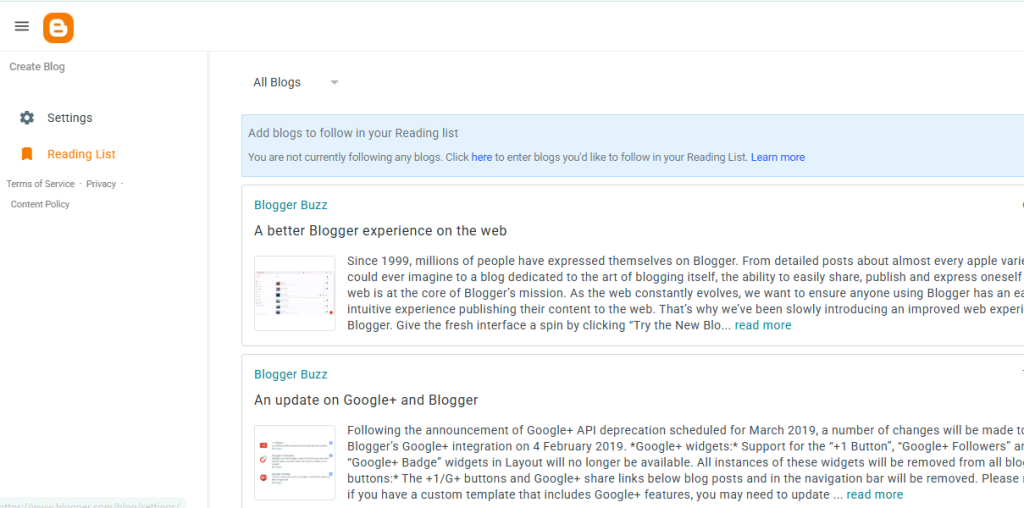
Step 5: Click “New Post”
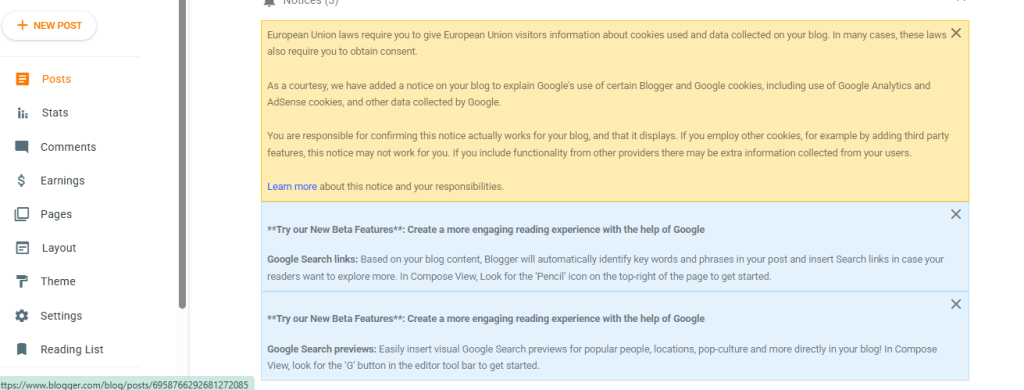
From the left navigation menu:
- Click New Post.
- The Blogger post editor will open.
This editor allows you to create, edit, and format your content.
Step 6: Write Your Content
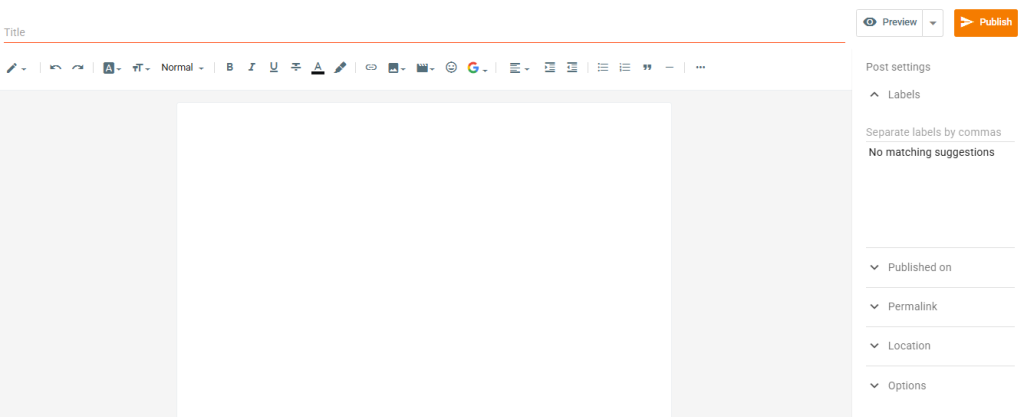
In the content editor:
- Write your introduction.
- Add headings and subheadings.
- Create paragraphs.
- Use bullet points where appropriate.
- Add useful information for your readers.
The Blogger editor supports the following:
- Bold
- Italic
- Underline
- Text color
- Links
- Lists
- Quotes
- Headings
- Text alignment
Step 7: Configure Post Settings
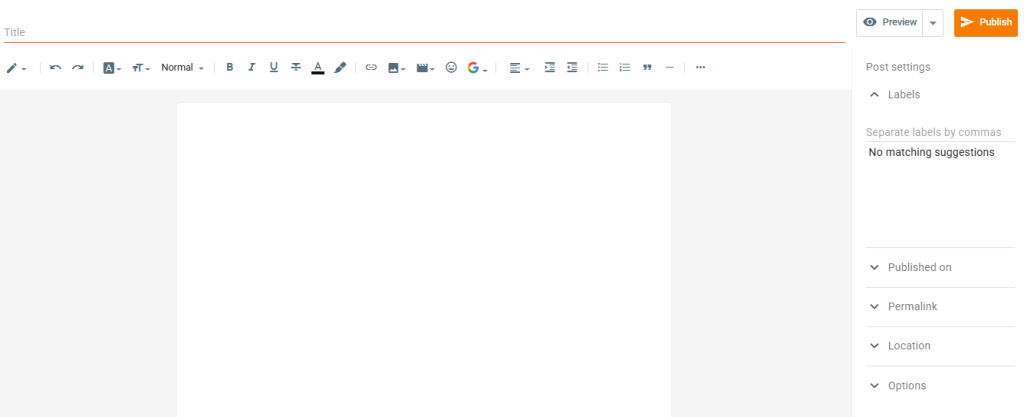
On the right side of the editor, you can customize at “Post Settings”:
- Labels (Categories)
- Publish Date
- Permalink
- Search Description (if enabled)
- Reader Comments
- Custom Options
Adding labels helps organize your blog posts.
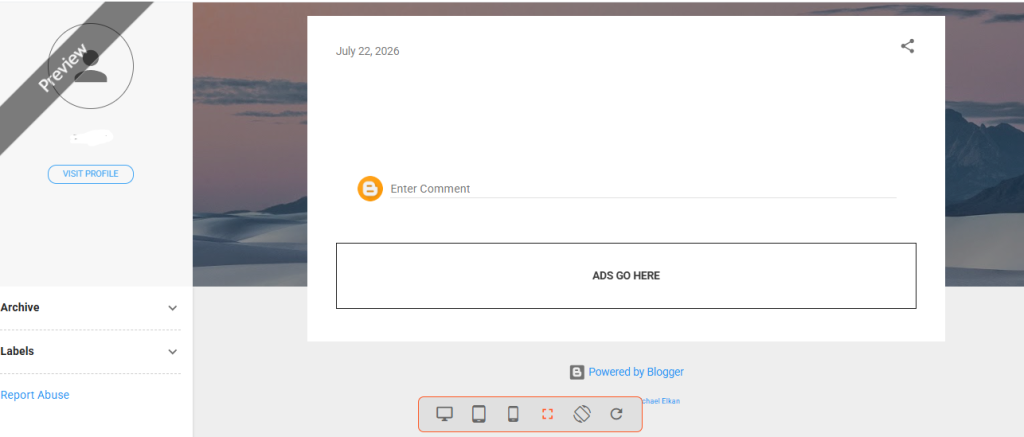
Step 8: Preview Your Blog Post
Before publishing:
- Click Preview.
- Review the layout.
- Check formatting, spelling, links, and images.
- Make any necessary corrections.
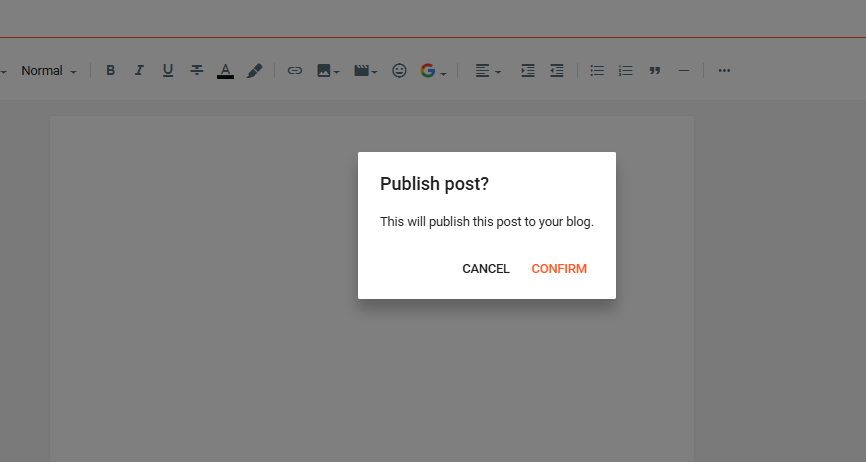
Step 9: Publish Your Blog Post
Once you’re satisfied:
- Click the Publish button.
- Confirm the publication if prompted.
Your blog post will now be live on your Blogger website.