Introduction
CodePen is a popular online code editor and front-end development platform that allows developers to write, test, and share HTML, CSS, and JavaScript directly within their web browsers. On CodePen, a ‘Pen’ is the basic unit of a project, making it easy to create interactive web components, UI designs, animations, and coding experiments without installing any software.
This guide explains how to create your first Pen on CodePen.
Step 1: Sign In to CodePen
Step 1: Sign In to CodePen
- Open your web browser.
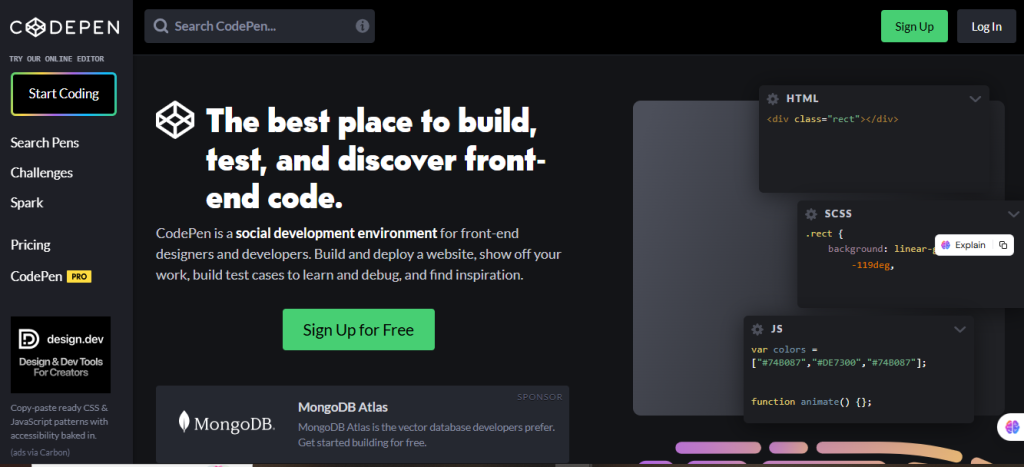
- Visit CodePen.
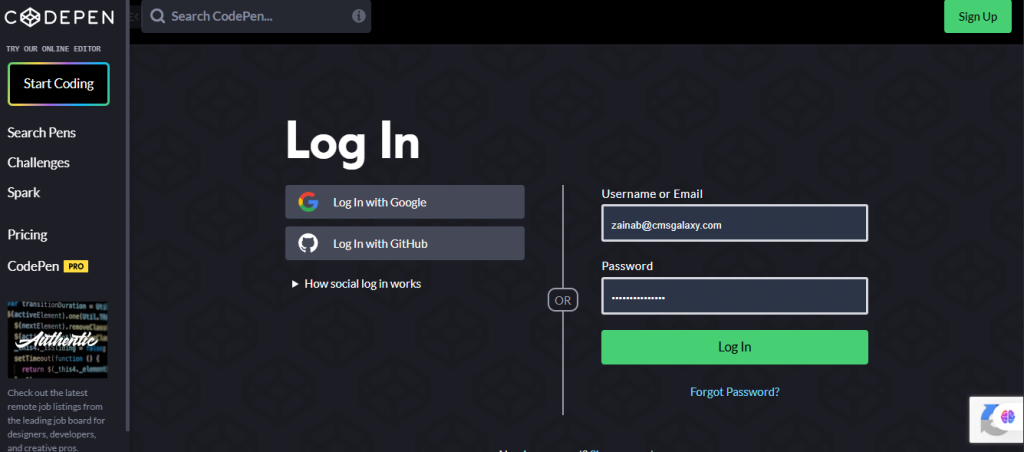
- Click Log In.
- Sign in to your CodePen account.
If you don’t have an account, create one for free.
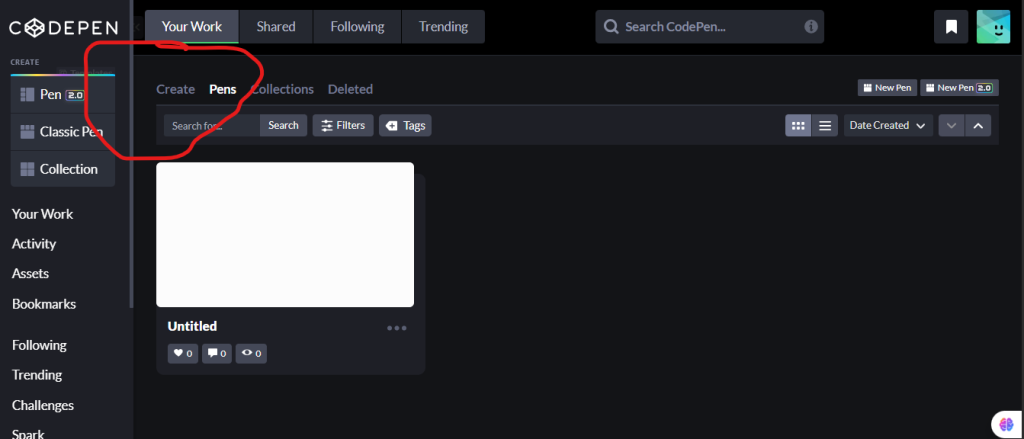
Step 2: Click on Your work
Click on your work to create your work.
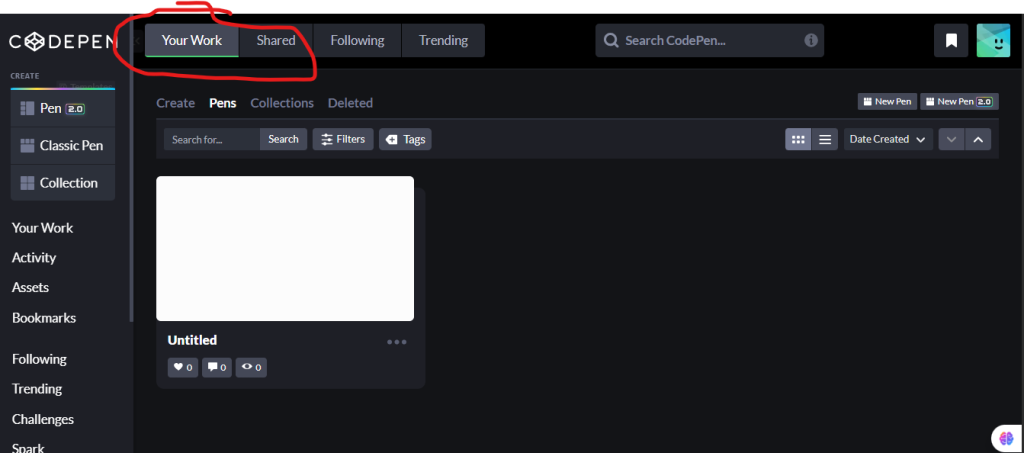
Step 3: Click on “create.”
Click on “create” to open the editing or creating section.
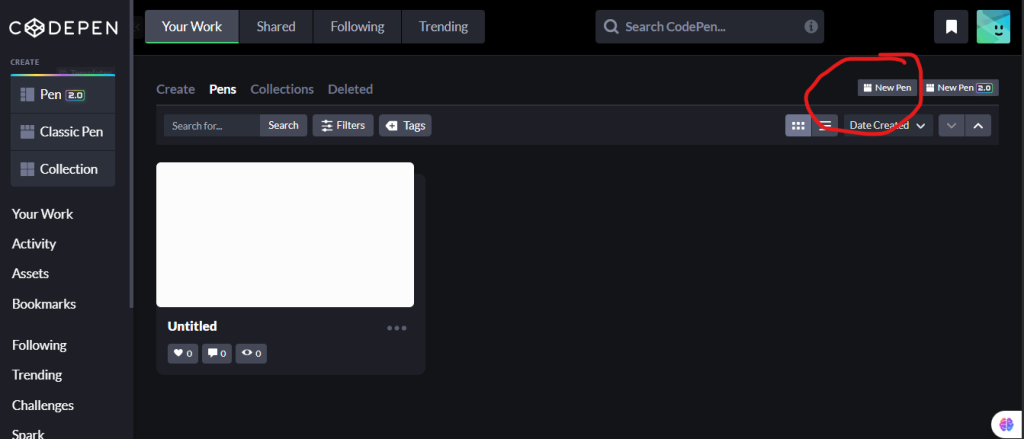
Step 4: Create a “new pen.”
Click on “new pen” for creating.
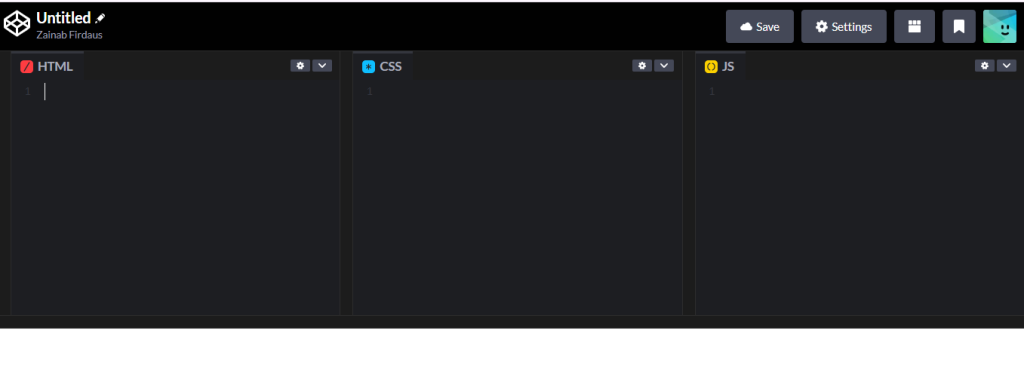
Step 5: Understand the Editor Layout
The CodePen editor is divided into different panels:
- HTML – Write the structure of your webpage.
- CSS – Add styles and formatting.
- JavaScript – Add interactivity and functionality.
- Preview – View your project in real time.
As you type your code, the preview updates automatically.
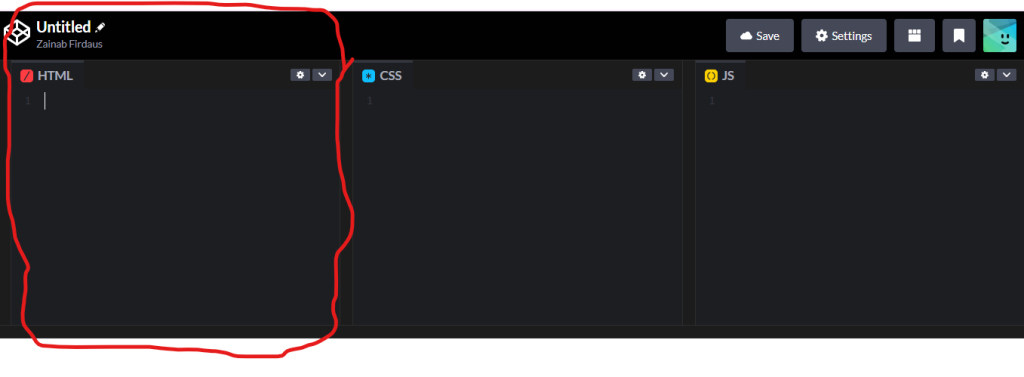
Step 6: Write Your HTML Code
Enter your HTML in the HTML panel.
Example:
<h1>Welcome to CodePen</h1>
<p>This is my first Pen.</p>
The preview panel will immediately display the content.
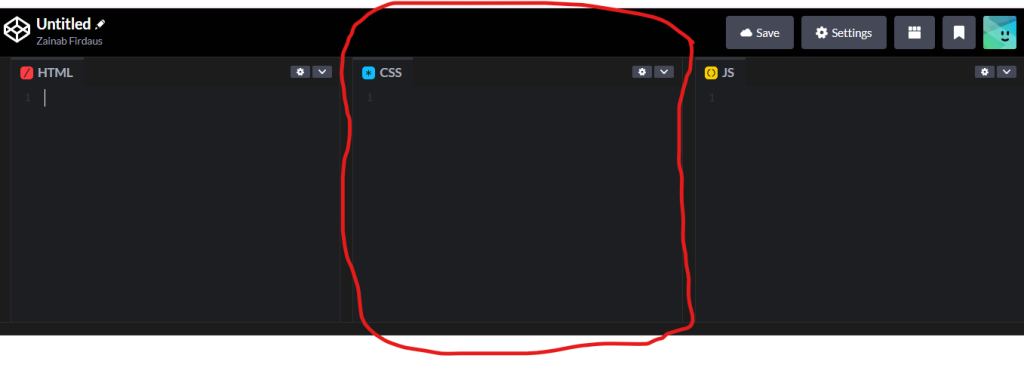
Step 5: Add CSS Styling
Open the CSS panel and add styles.
Example:
body {
  font-family: Arial, sans-serif;
  text-align: center;
  background: #f5f5f5;
}

h1 {
  color: #0066cc;
}
Your preview updates automatically as you edit the CSS.
Step 6: Add JavaScript
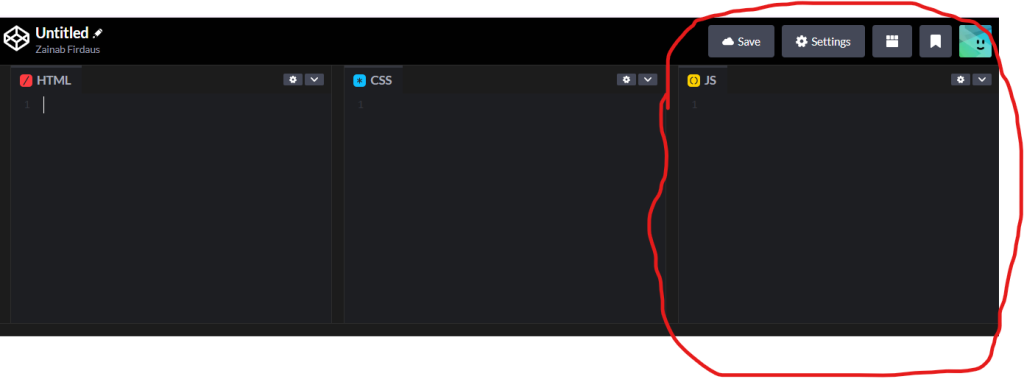
If your project needs interactivity, write JavaScript in the JavaScript panel.
Example:
console.log("My first CodePen project!");You can also build interactive buttons, animations, and dynamic web pages using JavaScript.
Step 7: Save Your Pen
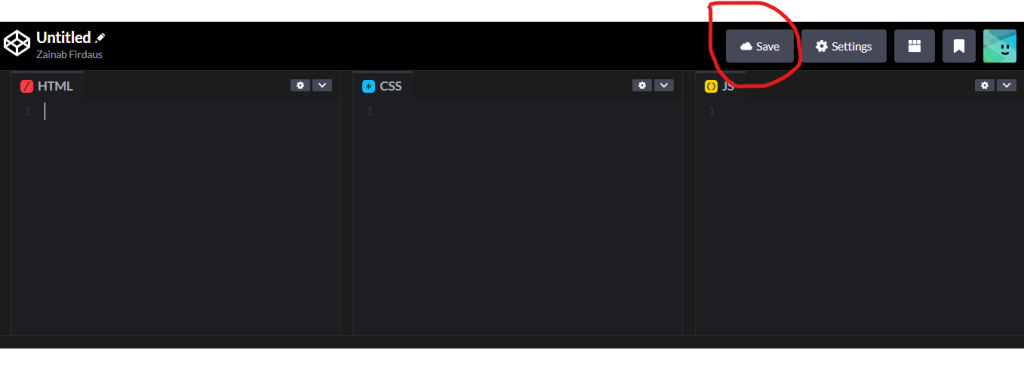
Click the Save button.
Your Pen will be stored in your CodePen account and assigned a unique URL that you can access later.
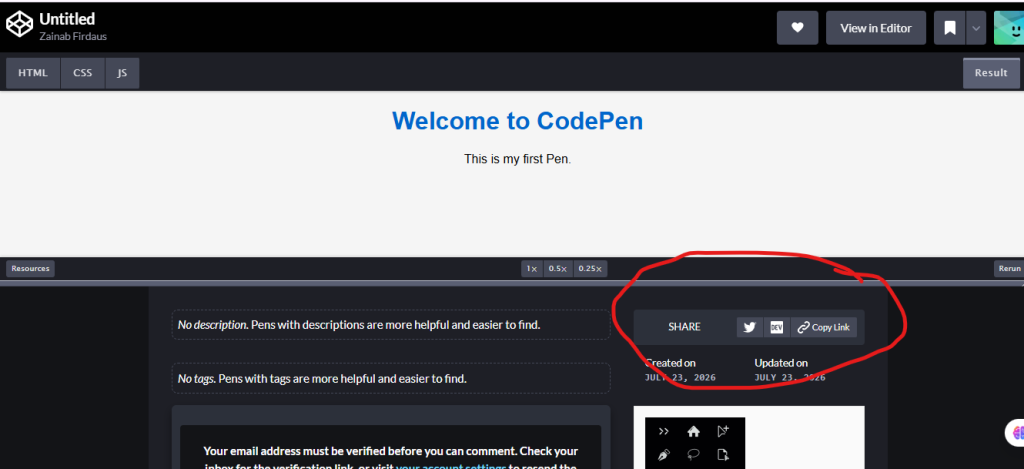
Step 8: Share Your Pen
After saving, you can:
- Copy the Pen URL.
- Share it with friends or colleagues.
- Embed it in a blog or website.
- Include it in your portfolio.
- Share it on social media.
Public Pens can be viewed by anyone with the link.