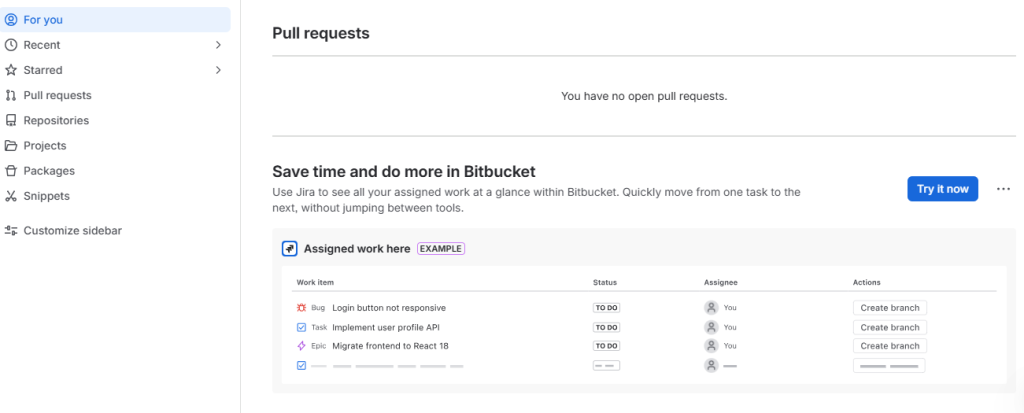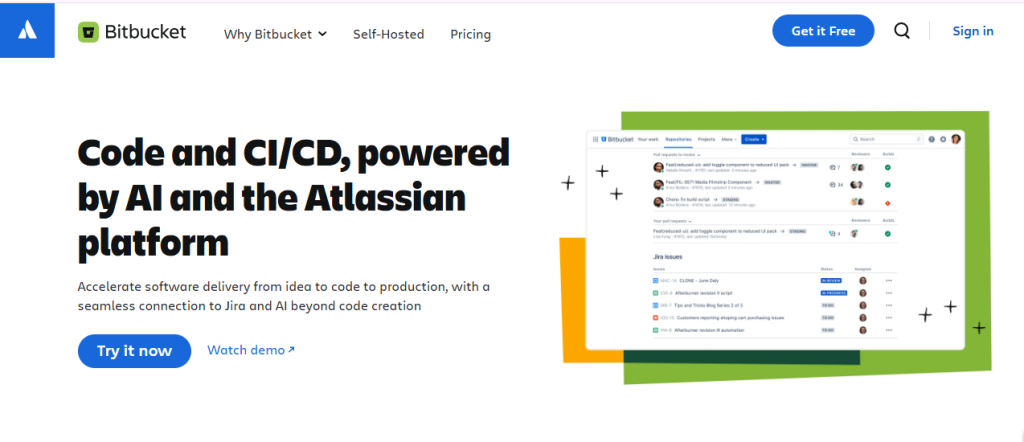
Introduction
Bitbucket is Atlassian’s Git-based source code hosting and collaboration platform. It helps software development teams store, manage, collaborate on, and review code, while also facilitating the building and deployment of applications via CI/CD pipelines. Bitbucket’s deep integration with Jira and Trello makes it a powerful tool for DevOps teams.
This guide explains how to create your first repository on Bitbucket.
Step-by-step guide to create your repository
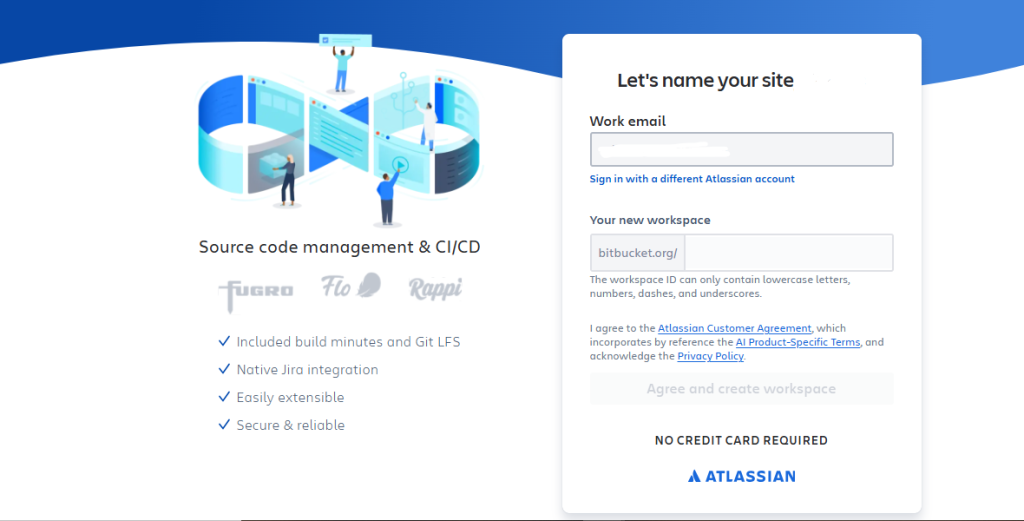
Step 1: Sign In to Bitbucket
- Open your web browser.
- Visit Bitbucket
- Click Log In.
- Sign in with your Atlassian account.
If you don’t have an account, create one for free.
Step 2: Open the Repository Page
Click on Repositories which present on the dashboard.
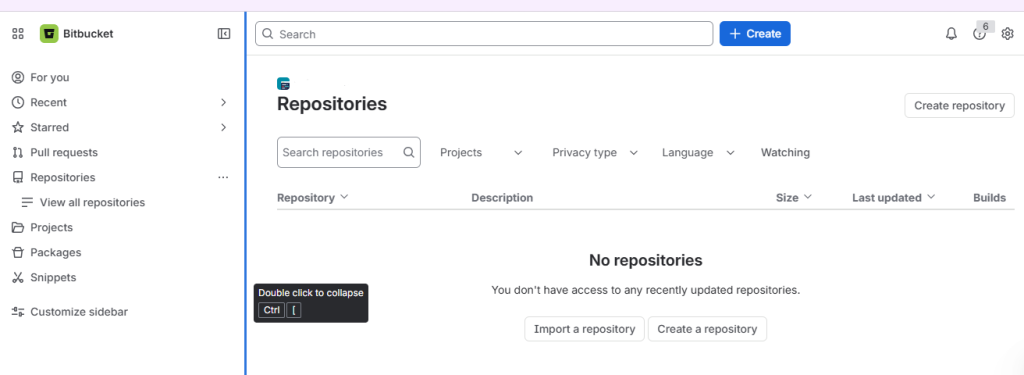
Step 3: Click the Create Repository Page
After signing in:
- Click the Create button in the navigation bar.
- Select Repository from the dropdown menu.
The Create Repository page will open.
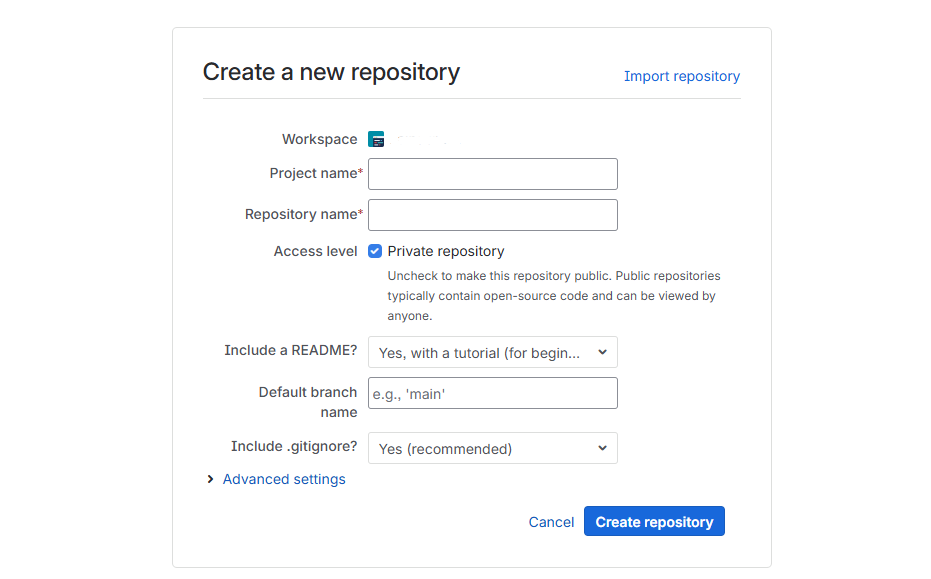
Step 4: Enter Repository Details
Fill in the required information:
- Repository Name
- Project
- Description (optional)
Choose a meaningful repository name that reflects your project.
Step 5: Create the Repository
- Review your settings carefully.
- Click Create Repository.
- Bitbucket will create your new repository in a few seconds.
Step 6: Verify Your Repository
Open your repository and verify:
- Repository name
- Files
- Branches
- Commits
- Repository settings
Your repository is now ready for development and collaboration.